
 Join our Discord
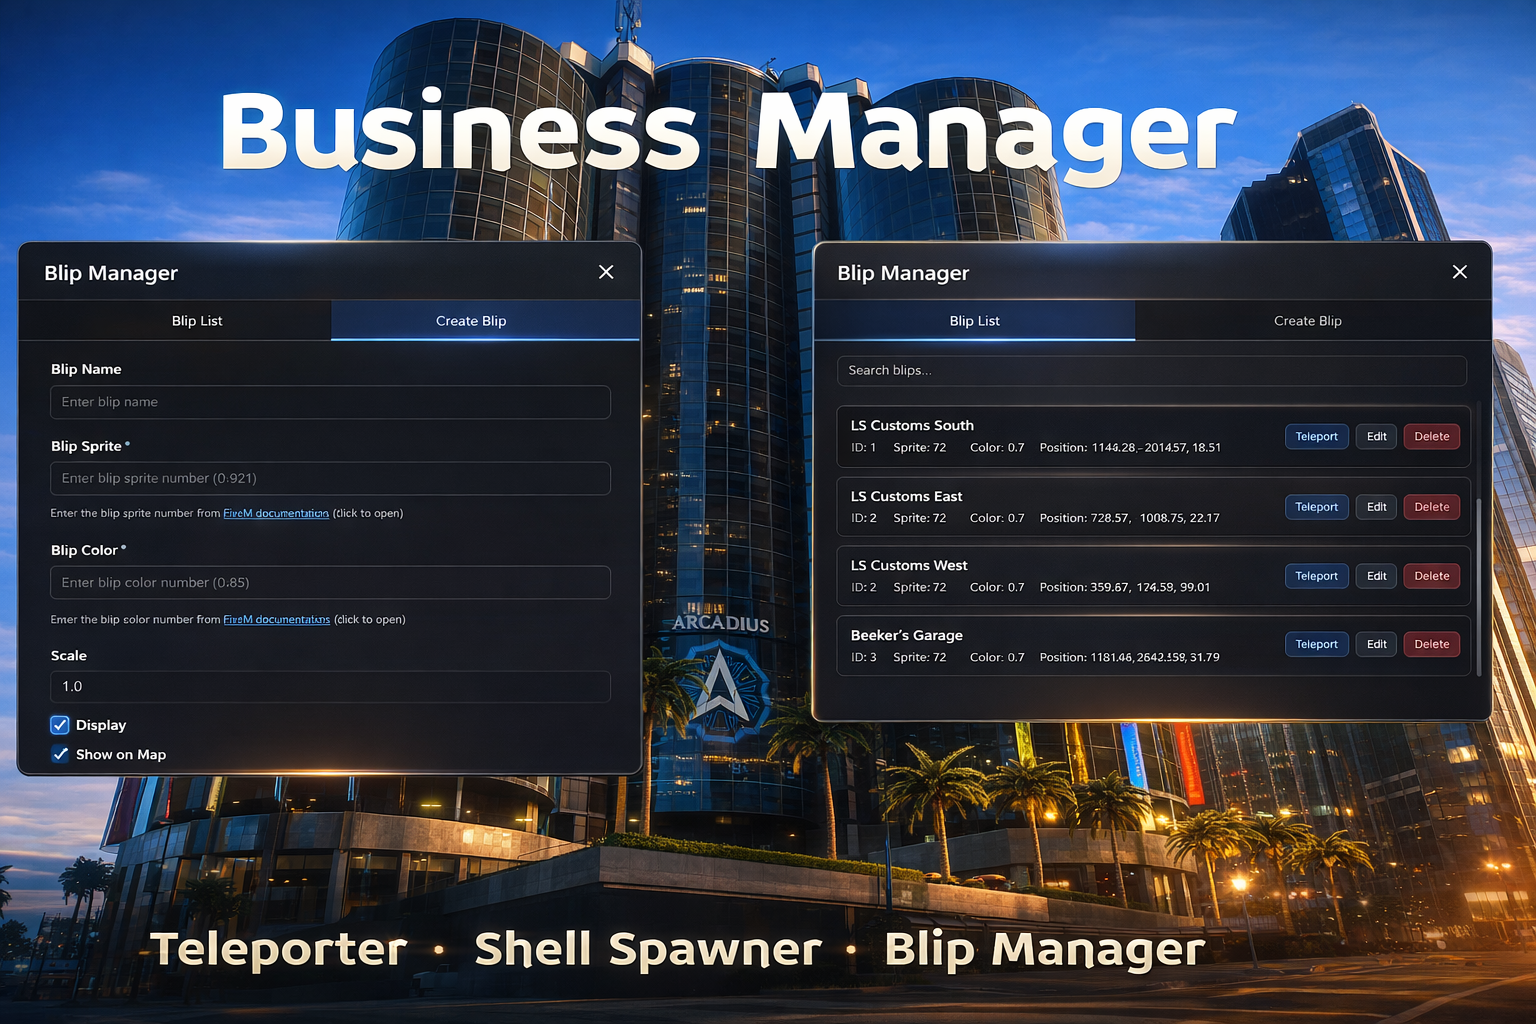
A comprehensive FiveM resource for managing business blips, teleporters, and shell locations with job-based restrictions and a user-friendly UI.
Business Manager System
A comprehensive FiveM resource for managing business blips, teleporters, and shell locations with job-based restrictions and a user-friendly UI.
Features
-
Blip Management System
-
Create, edit, and delete blips through an intuitive UI
-
Job-based visibility restrictions
-
Grade-based access control
-
Real-time blip updates
-
Persistent storage in
blips.json
-
-
Teleporter System
-
Two-way teleportation between locations
-
Routing bucket support for isolated instances
-
Integration with blip open/close system
-
Customizable zone text and keybinds
-
-
Shell Spawn System
-
Spawn custom shell models at specified locations
-
Support for multiple shell locations
-
-
Job System Integration
-
ESX and QBCore support
-
Job-restricted blip visibility
-
Grade-based access control
-
Hide/show blips based on player job
-
Installation
-
Download and extract the resource to your
resourcesfolder -
Add the resource to your
server.cfg:
- ensure ballots_BusinessManager
-
Configure the script in
config.lua -
Restart your server or start the resource
Dependencies
-
ESX or QBCore (for job system - optional)
-
JSON library (usually included with FiveM)
Configuration
All configuration is done in config.lua. Here's a breakdown of the main settings:
Framework Settings
Config.JobSystem = 'esx' -- Options: 'esx', 'qbcore'
Debug Mode
Config.Debug = false -- Set to true to enable debug messages in F8 console
Commands
Config.BlipCommand = 'blipcreator' -- Command to open blip manager
Config.HideBlipCommand = 'closestore' -- Command to hide blips for player's job
Config.ShowBlipCommand = 'openstore' -- Command to show blips for player's job
Notifications
Configure notification types and messages:
-
Config.StoreNotificationType- Options: 'chat', 'ui', 'both', or 'none' -
Config.BlipNotificationType- Options: 'chat', 'ui', 'both', or 'none'
Teleporters
Configure teleporter locations:
Config.Teleporters = {
    {
        name = "Pawn Shop West",
        locationA = vector4(-778.3818, -600.7364, 30.2763, 359.8618), -- Outside location
        locationB = vector4(-778.3967, -601.3455, 30.2791, 178.3435), -- Inside location
        zoneTextA = "Press 'Y' to enter",
        zoneTextB = "Press 'Y' to exit",
        bucket = 1, -- Routing bucket ID
        blipId = 6 -- Optional: Links to blip ID for open/close functionality
    }
}
Shell Locations
Configure shell spawn points:
Config.ShellSpawnPoints = {
    {
        model = "Example Name",
        pos = vector3(-71.97, -2073.66, 2645.79),
        rot = vector3(0.0, 0.0, 0.0)
    }
}
Blips
Blips can be configured in config.lua or created dynamically through the UI. Example:
Config.Blips = {
    {
        name = "Example Location",
        sprite = 1,
        color = 3,
        scale = 1.0,
        shortRange = false,
        x = 0.0,
        y = 0.0,
        z = 0.0,
        job = "police", -- Optional: Job restriction
        grades = {0, 1, 2} -- Optional: Allowed grades
    }
}
Commands
/blipcreator
Opens the blip manager UI where you can:
-
Create new blips
-
Edit existing blips
-
Delete blips
-
Teleport to blip locations
-
Search and filter blips
/closestore
Hides all blips associated with your current job. When used with teleporters:
-
Only
locationA(outside) is disabled -
locationB(inside) remains accessible
/openstore
Shows all blips associated with your current job. When used with teleporters:
- Both
locationAandlocationBare enabled
Usage Guide
Creating a Blip
-
Use
/blipcreatorto open the blip manager -
Click on the "Create Blip" tab
-
Fill in the required information:
-
Name: Display name for the blip
-
Sprite: Blip sprite ID (see FiveM Blip Documentation)
-
Color: Blip color ID
-
Scale: Size of the blip (1.0 is default)
-
Position: X, Y, Z coordinates (use "Get Current Position" button)
-
Job: Optional job restriction
-
Grades: Optional grade restrictions (comma-separated or range like "0-5")
-
-
Configure display options:
-
Short Range: Show only when nearby
-
Display on Map: Show on main map
-
Display on Minimap: Show on minimap
-
Always Visible: Ignore hide/show commands
-
-
Click "Create Blip"
Editing a Blip
- Open the blip manager (
/blipcreator) - Find the blip in the list
- Click "Edit"
- Modify the fields as needed
- Click "Update Blip"
Deleting a Blip
- Open the blip manager
- Find the blip in the list
- Click "Delete"
- Confirm the deletion
Using Teleporters
- Walk to a teleporter location (marked by a blip if configured)
- Enter the zone (you'll see the zone text)
- Press the configured key (default: Y) to teleport
- Use the same key at the destination to return
Job-Based Blip Visibility
-
Blips can be restricted to specific jobs and grades
-
Use
/closestoreto hide blips for your job -
Use
/openstoreto show blips for your job -
Blips marked as "Always Visible" will not be affected by these commands
Blip Sprites & Colors
For a complete list of available blip sprites and colors, refer to the FiveM Blip Documentation.
Framework Support
ESX
Set Config.JobSystem = 'esx' in config.lua. The script will automatically detect and use ESX for job management.
QBCore
Set Config.JobSystem = 'qbcore' in config.lua. The script will automatically detect and use QBCore for job management.
Data Storage
Blips are automatically saved to blips.json in the resource folder. This file is:
-
Created automatically when the first blip is added
-
Updated whenever blips are created, modified, or deleted
-
Loaded automatically on resource start
Troubleshooting
Blips not showing up
-
Check if the blip has job restrictions that match your job
-
Verify the coordinates are correct
-
Ensure the blip scale is greater than 0
-
Check if debug mode shows any errors
Teleporter not working
-
Verify the coordinates are correct
-
Check if the keybind is set correctly (
Config.ConfirmKey) -
Ensure you're within the zone radius (
Config.ZoneRadius) -
Check if the teleporter is linked to a blip that's currently hidden
Job system not detecting
-
Verify
Config.JobSystemmatches your framework -
Ensure ESX/QBCore is loaded before this resource
-
Check debug mode for error messages
UI not opening
-
Check F8 console for errors
-
Verify all UI files are present
-
Ensure the resource is started correctly
Debug Mode
Enable debug mode by setting Config.Debug = true in config.lua. This will show:
-
Blip creation/update/deletion logs
-
Job detection messages
-
Teleporter activation logs
-
Error messages
Support
For issues, questions, or feature requests, please contact the me through the discord